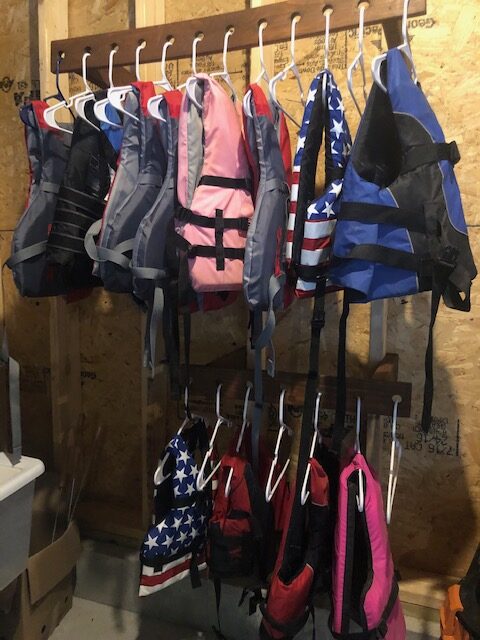
At our family cabin near a lake, we really needed a solution for storing the life jackets so they have an organized way to dry. After extensively searching the internet for DIY solutions, I kept finding good ideas that weren’t quite what we needed. So began creating something that would work for us.
The studs are visible in the garage, so we could easily use those to mount to the wall. If you were to this project, you might want to consider putting a board behind the rack so you can mount into the studs through the drywall.
Materials Needed:
- 2×4 times the depth of the rack. Make sure its at least half the width of your largest life jacket so they will fit when hanging. We made two, one mounted higher for adult life jackets, and then one mounted lower that wasn’t as deep to hang kid’s life jackets.
- 1×4 – as long you’d like for the front.
- Drill with circle cutter – I used a one inch, but as long as the hanger can fit in the circle, it’ll work
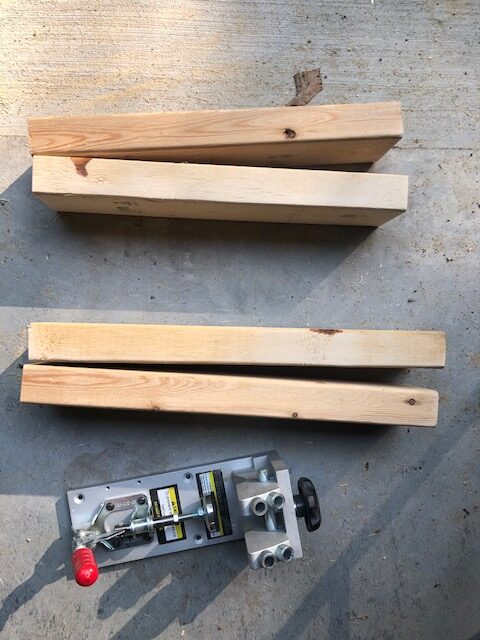
- Pocket hole Jig and Screws I prefer to use pocket holes, but honestly, you could screw it through the 1×3 into the 2×4 if you don’t have a pocket hole jig.
- Measuring Tape and Pencil
Step 1. Cut the 2×4’s to the desired length to mount to wall. Add pocket holes at one end to attach to the front. I screwed directly through the side to mount to the studs, however, if you plan to put a second 1×4 on the opposite side, you’ll want to put pocket holes on the other end of your sides now.
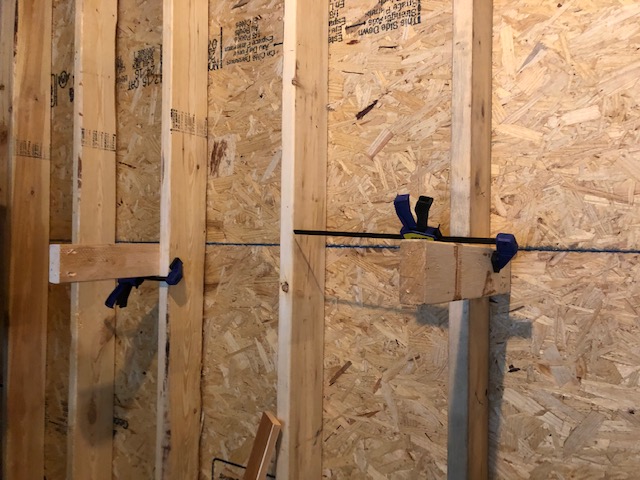
Step 2: I found it tricky to determine the length and placement of the sides to the front so I used some clamps to attach to the studs and measured. I then cut the 1×3 to the correct length and mounted them to the front. This was simpler for me, but you could just measure and do this without testing it on the wall. I attached the front next, but you could mark your holes now, and drill the holes before mounting if you’d prefer.
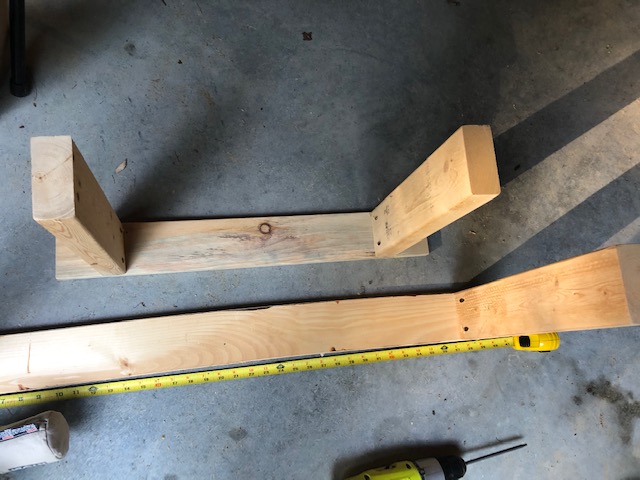
Step 3: Measure and mark drill holes. You want to make sure the hanger will fit, so if you are using something larger, make sure the holes aren’t too far up. On a 1×3 you can center them vertically. I spaced each hole 4 inches, so that there was enough space for the jackets and some airflow to allow them to dry.
I drilled from the back, which is retrospect is not the best option. If you can do it from the front, that’s ideal, as you won’t get the jagged edge.
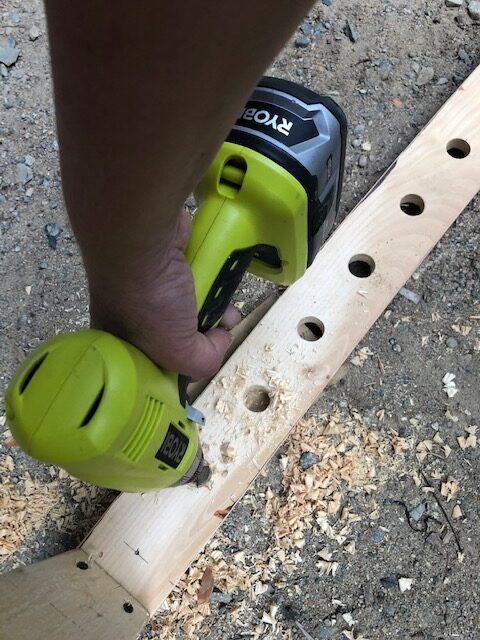
Step 4: Make sure to send any rough spots. I opted to stain and seal mine, because, why not? Mount to the wall at desired height!
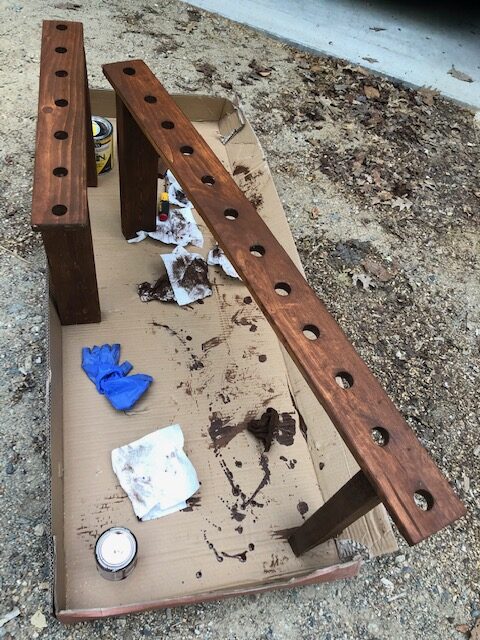
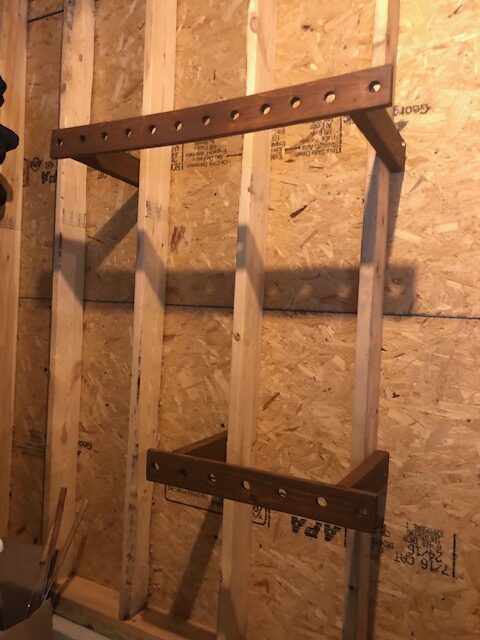
And done! Organized life jackets that have room to dry!
